Mould, lead paint and other risks when gutting an older home
By Sofia Vogel · Updated 2026-08-20
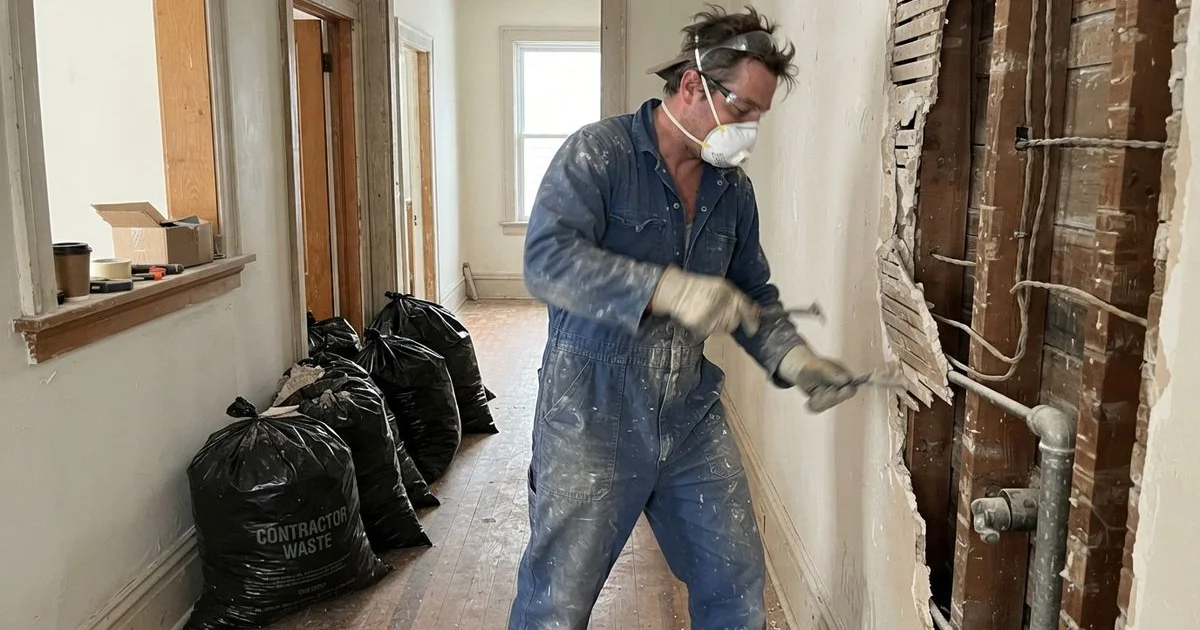
Gutting a kitchen, basement, or full unit ahead of a renovation means opening up walls, flooring, and ceilings that have often been untouched for decades. In an older Ontario property, that’s exactly where a handful of specific risks tend to hide.
What actually shows up
Asbestos. Still the most common concern in pre-1990s construction: found in old flooring adhesive, drywall joint compound, pipe wrap, and sometimes textured ceiling finishes. It’s not dangerous sitting still, but a strip-out disturbs exactly the materials most likely to contain it.
Lead paint. Present in many homes built before 1980, in layers sometimes buried under decades of repainting. Demolition dust from cutting into painted surfaces or removing trim can release lead particles even without directly sanding the paint.
Mould. Less regulated than asbestos or lead, but a real health concern behind walls with a history of leaks, condensation, or poor ventilation, especially in basements. Once walls come down, hidden mould becomes airborne in a way it wasn’t while contained.
Old insulation and pest evidence. Not hazardous in the same regulatory sense, but common enough in older strip-outs to be worth planning for in terms of disposal and cleanup time.
These same materials aren’t unique to a strip-out; the hidden hazards guide for older Ontario homes covers them from a whole-property teardown perspective.
Sequencing the check before you start
- Get suspect materials tested first, particularly if the home predates the early 1990s, before any demolition work begins on walls, flooring, or ceilings.
- Inspect for water damage history in areas being opened up, checking for staining, warping, or musty odours that suggest hidden mould.
- Handle abatement and remediation separately from the general strip-out crew if asbestos, lead, or significant mould is confirmed, similar to how these are scoped as their own line item in a full demolition.
- Schedule the general strip-out after clearance, once any hazardous material has been safely addressed.
What this adds to your timeline and budget
| Concern | Typical added time | Typical added cost |
|---|---|---|
| Asbestos testing and clearance | 1-2 weeks if found | Abatement scoped separately |
| Lead paint testing | A few days | Usually minor unless extensive |
| Mould assessment | Days to a couple weeks depending on extent | Remediation scoped separately if significant |
None of these are reasons to avoid a renovation. They’re reasons to sequence the project properly so the strip-out crew isn’t disturbing something that needed to be handled first.
Choosing a crew for this kind of work
Ask directly whether the contractor doing your interior strip-out is equipped to identify these risks, or whether they’ll coordinate with a specialist if something’s found. You can browse interior demolition and strip-out contractors in Ontario on the Ontario Excavation & Demolition Directory and see how listings are scored for completed-job history in our ranking methodology.
Who typically handles what
A general interior strip-out crew removes finishes, fixtures, and non-structural material once an area is cleared for work. Asbestos abatement, lead-safe work practices, and significant mould remediation usually fall to specialists trained and equipped specifically for that hazard, even when the same overall project brings them all together on one timeline. Ask upfront how your contractor coordinates these handoffs, since a poorly managed transition between specialist and general crew is a common source of delay.
Working room by room instead of all at once
For larger renovation projects spanning multiple rooms, consider testing and clearing one area at a time rather than assuming the whole house shares the same risk profile. A kitchen renovated in the 2000s may carry far less risk than an untouched basement dating to the original construction. Sequencing the strip-out room by room, with testing ahead of each section, can keep the project moving instead of stalling on a single conservative assumption for the entire house.
Ventilation and containment during the work
Even after testing clears an area, basic dust control matters during a strip-out: sealing off the work zone from the rest of the home, using negative air pressure or simple plastic sheeting where practical, and cleaning thoroughly between phases. This is a lower bar than full hazardous material containment, but it meaningfully reduces dust exposure for anyone still living in or near the property during the renovation.
This guide is general information, not medical advice. If you have concerns about a specific past exposure, speak with a physician.
FAQ
- How do I know if there's mould behind my walls before I start gutting?
- A musty smell, past water damage, or visible staining are common signs, but mould can also be hidden with no obvious warning. If your home has a water intrusion history, assume it's worth checking before opening walls.
- Is lead paint dangerous if I'm just removing drywall, not the paint itself?
- It can be, since demolition disturbs dust from painted surfaces even if you're not directly sanding the paint. Older layers under newer paint can still release particles once walls come down.
- Can a strip-out crew handle mould remediation themselves?
- Some can for minor, contained cases, but significant mould contamination usually needs a specialist separate from the general strip-out crew, similar to how asbestos abatement is handled separately.
- Should I test the whole house or just the area being gutted?
- Testing the specific area being disturbed is the minimum, but if the home is older and you're planning further renovation later, a broader survey can save you from repeating the testing process room by room.